Using the template creation system
Creative templates are used to provide a framework for creative projects to be built on. A template contains the permitted dimensions and general layout for each graphic that can be used in the ad kit. Templates are usually created ahead of time by the DealerVerse team, but occasionally, ad agencies or dealer groups will need to create their own templates. In that case, the DealerVerse team will need to provide the system admin with permissions to be able to add/edit templates. Below are the steps to add templates.
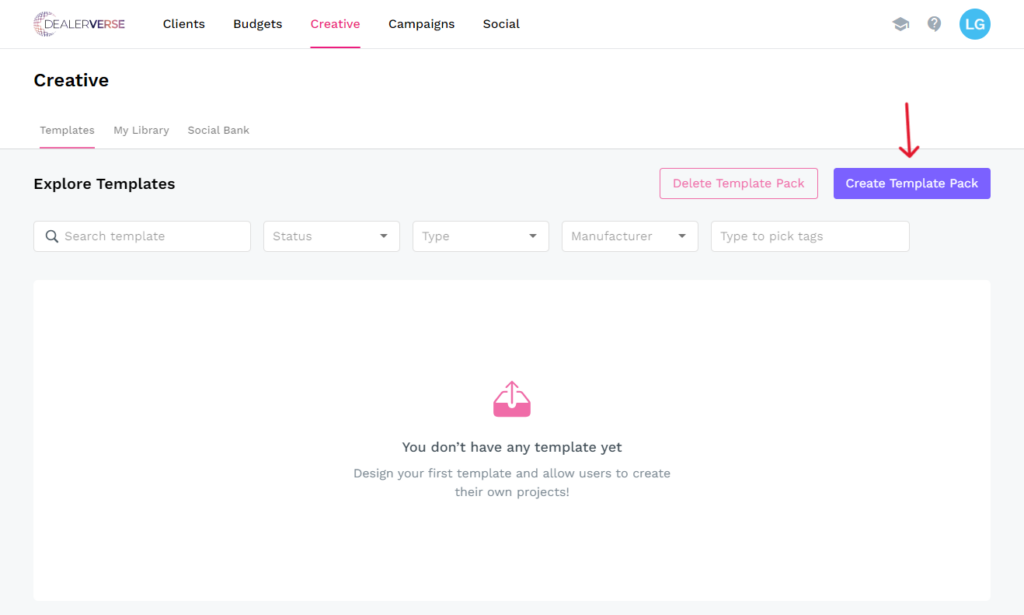
Step 1: To create a template, you will need to be at the enterprise level of the account. For details about understanding what level of the account you are currently in, please refer to this KB article. Once you are at the account level, click on the Creative tab at the top. Any templates that had already been created will be displayed on this page. Click the Create Template Pack to start.
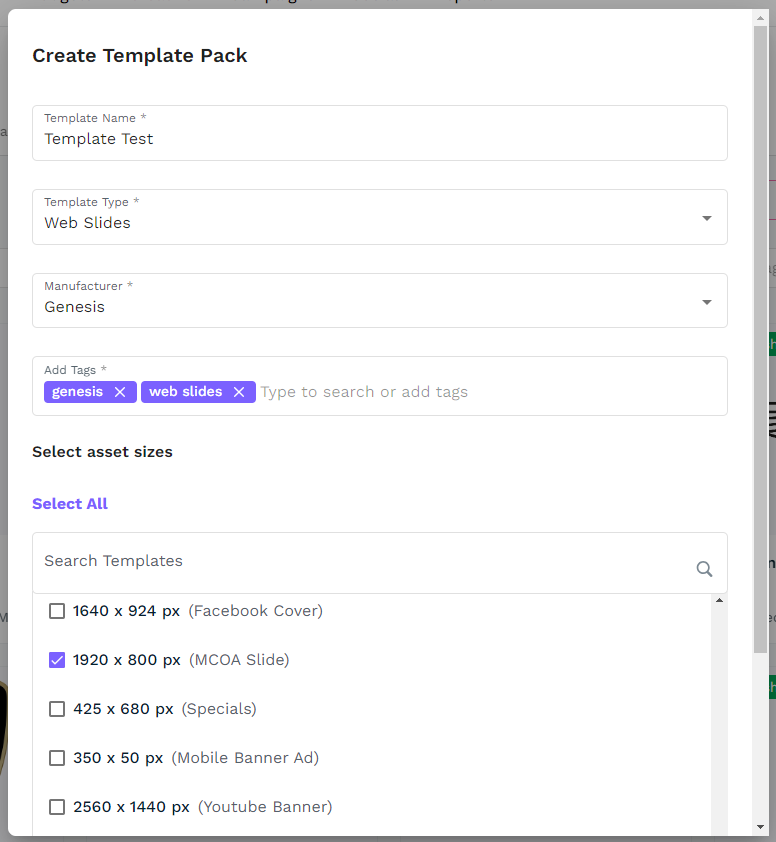
Step 2: A pop-up modal will appear requesting several pieces of information including a name for the template, they type of projects that will use the template, manufacturers, tags, and graphics dimensions.
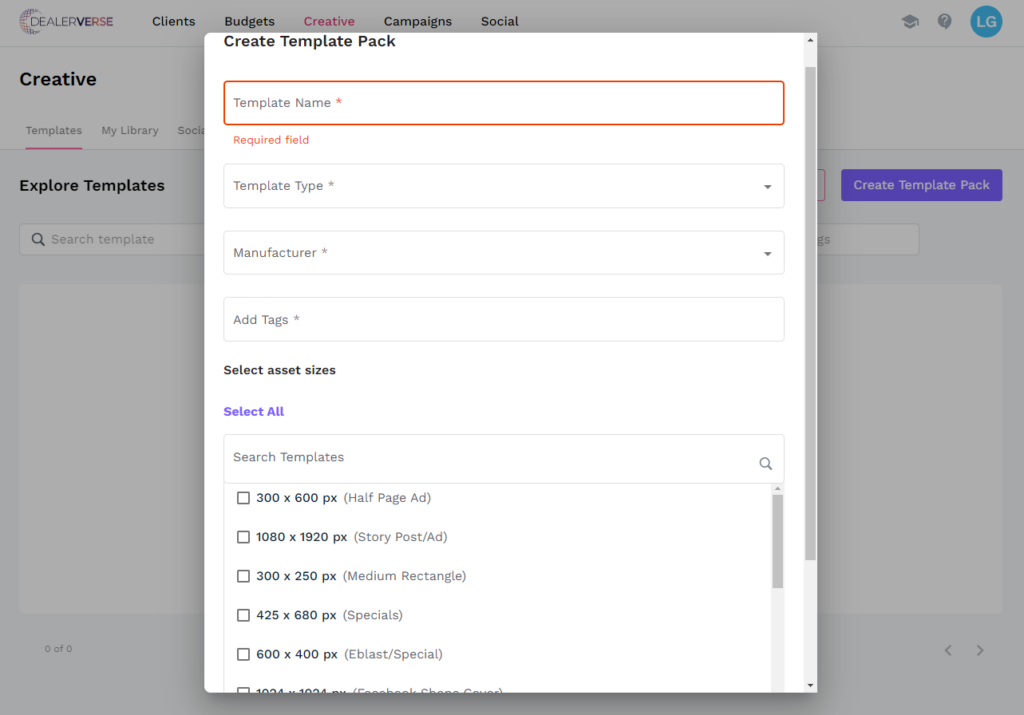
Step 3: For the Template Type, select from Parts & Service, Social & GMB, Specials, and Web Slides. The Manufacturer field drop-down should be limited by the manufacturers the dealerships in the auto group sell. Select a manufacturer that will be highlighted in this template. Then select all the relevant sizes for this template type by scrolling through the list and checking the appropriate boxes. Click Create Template Pack when you are done.
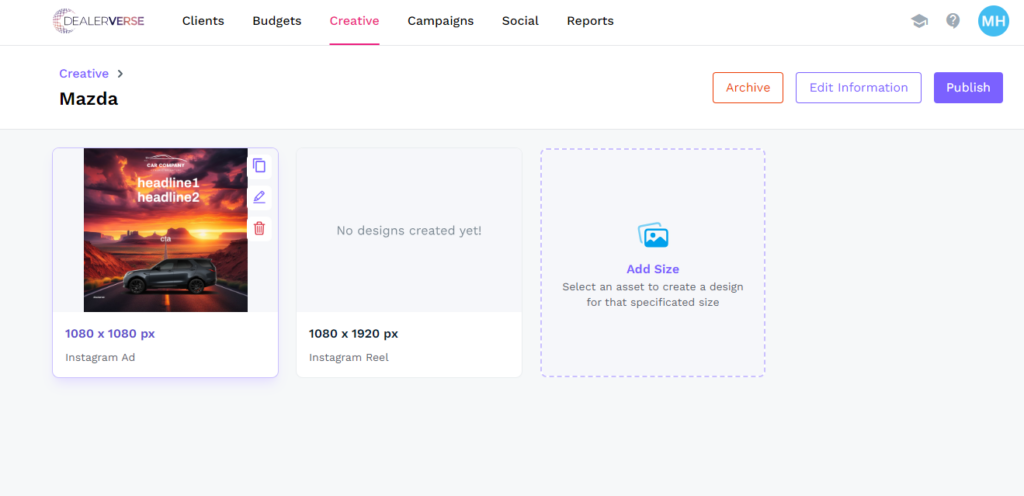
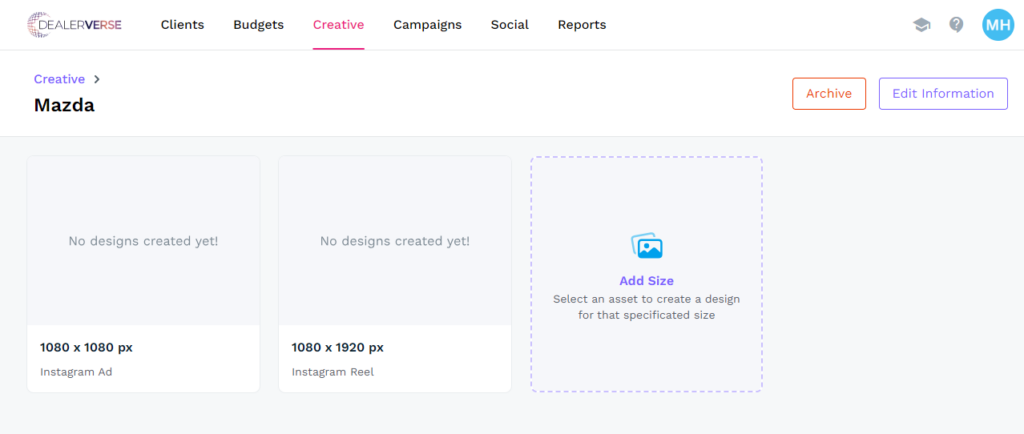
Step 4: When the template is created, you will be directed to a page where all of the individual sizes can be set up as templates. You will need to edit each size template individually. Hover over the template size and click on the little edit button that looks like a pencil.
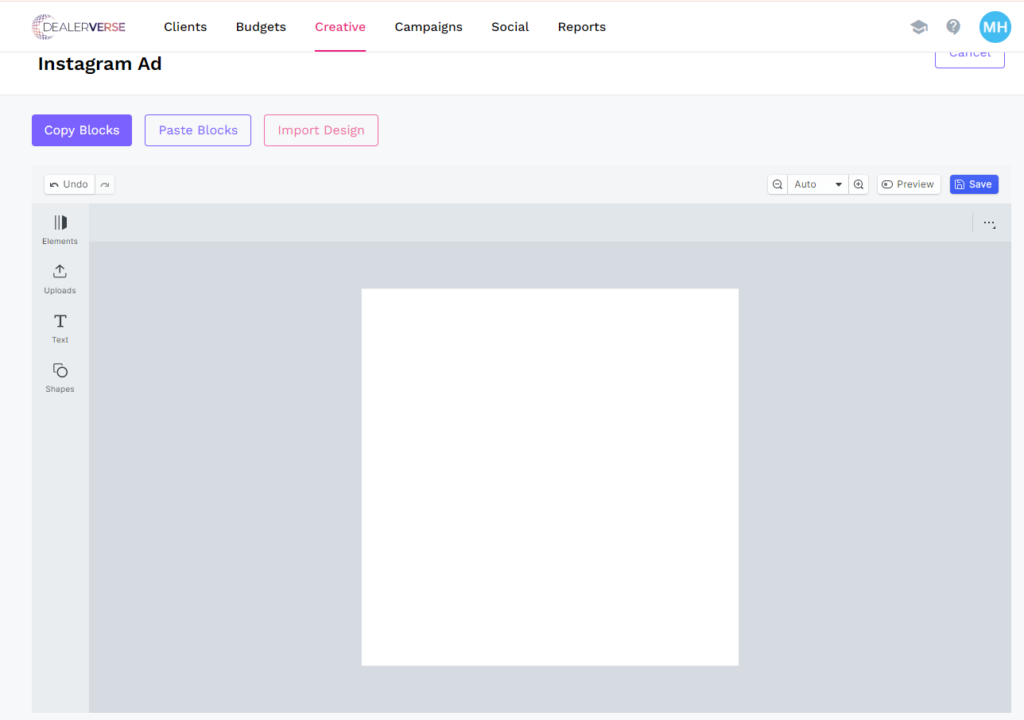
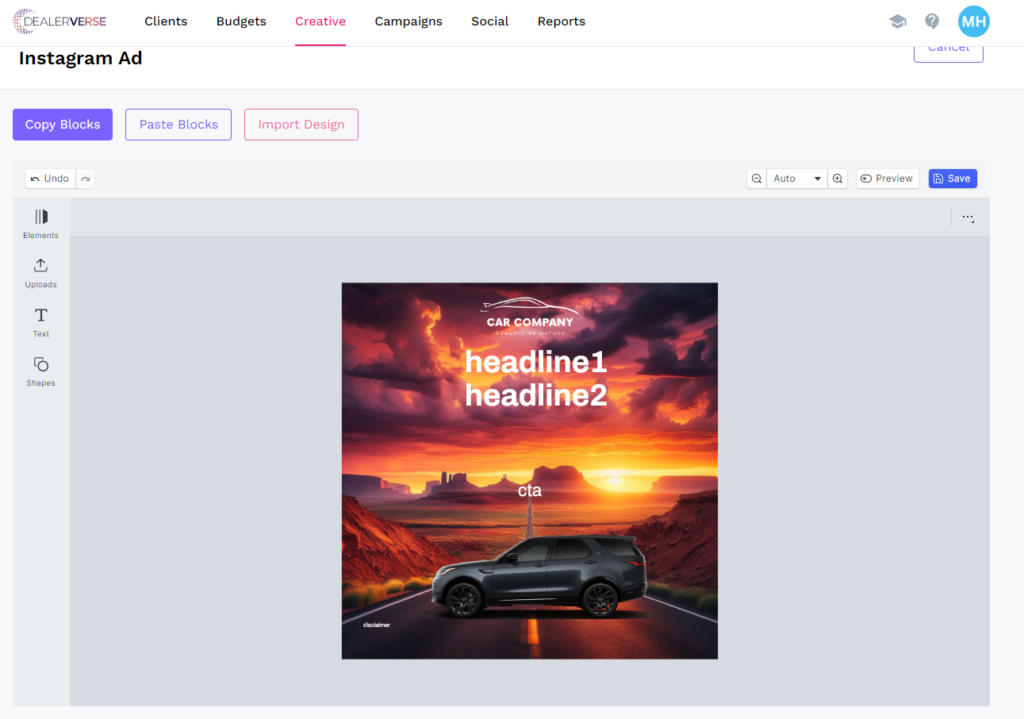
Step 5: Once inside, you will be greeted with an image editor, not unlike Canva or another similar tool. This is where background images, foreground images, text, and buttons can all be added as placeholders and can even be locked in place.
Before continuing, let’s review what the features of this page are. The template creation process will be reviewed in detail in anther KB article. Here, we will just take a general look at the tool.
- Copy Blocks/Paste Blocks – Used to copy and paste elements from one design into another
- Elements – Used to add images, text, or shapes into the graphic
- Uploads – A storage place for any elements that are uploaded
- Text – Another method to add text fields into the graphic
- Shapes – Another method to add shapes into the graphic
- Zoom – A way to zoom in or out of the graphic
- Preview – A toggle to allow the template to be viewed during project creation if the template has been published
- Save – Creates a thumbnail of the graphic and saves the image to the library
Step 6: Once an image has been created with the tool, click the save button to save the template as part of the template pack.
The template you’ve created will now be visible in the template library. Once the template pack has been completed and published, users will be able to use the template when they create a project for their client account.