Generating Digital Assets Using Projects
Projects are the step that bridge the gap between a template and a digital asset. Just to review, a system admin or the DealerVerse team will need to set templates up in the system ahead of time so the dealership’s creative team (or an ad agency) can create assets from those templates. Below are the steps to create digital assets from existing templates.
Step 1: Check account level
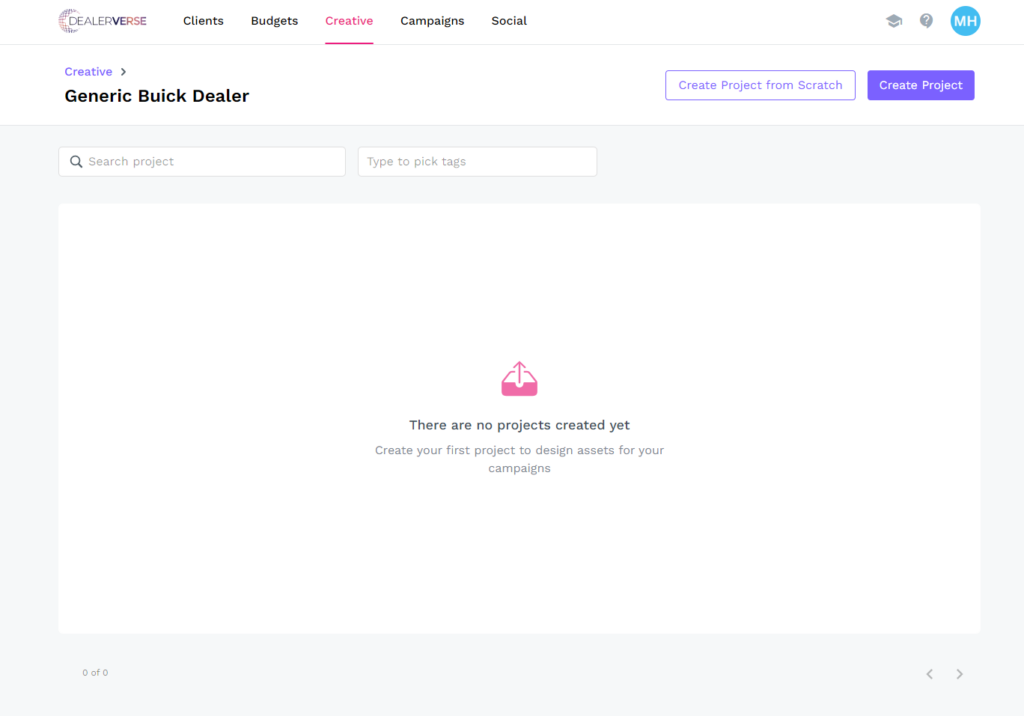
In order to create a project, you will need to be either at the Company level or the Client level of the account. The enterprise level is where templates are set up (if permissions have been granted to the admin). This concept is explained more in this KB article. Once your account level has been confirmed, navigate to the Creative tab. If no projects have been completed yet, it will tell you on screen.
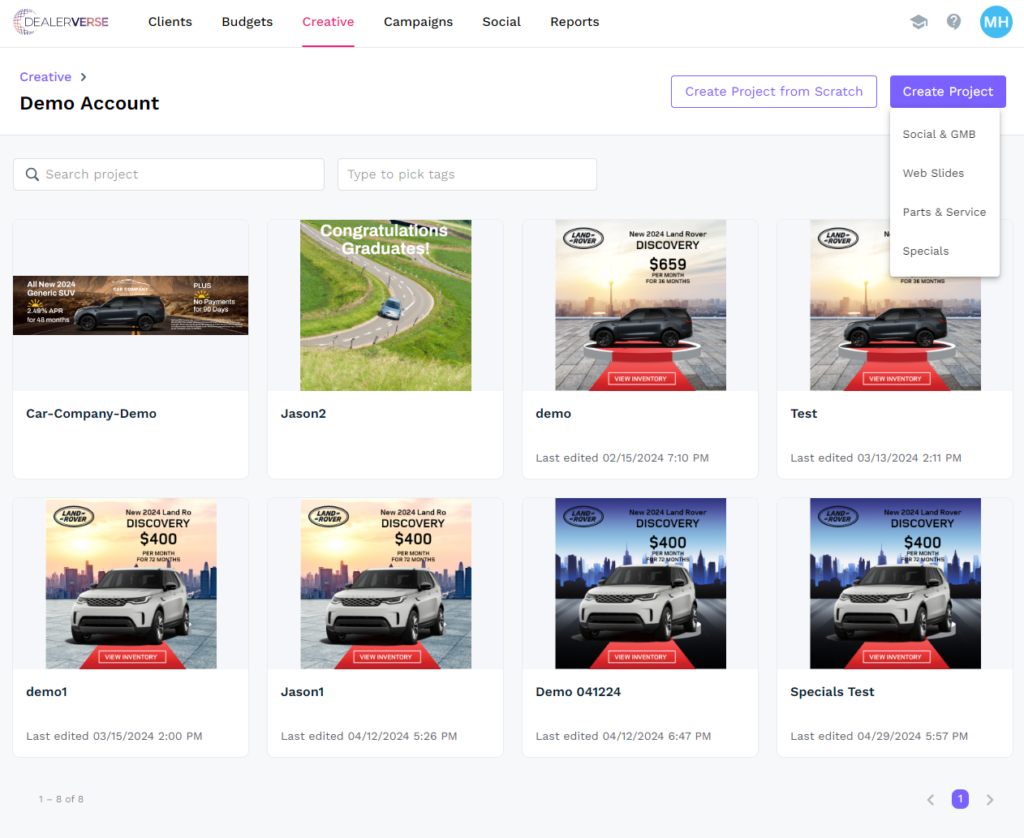
Step 2: Create a Project
From the Creative tab home, click the Create Project button in the upper right hand corner. It will prompt you to select a type of project to create (Social & GMB, Web Slides, Parts & Service, Specials). Click the best one for your needs.
Step 3: Add your project name
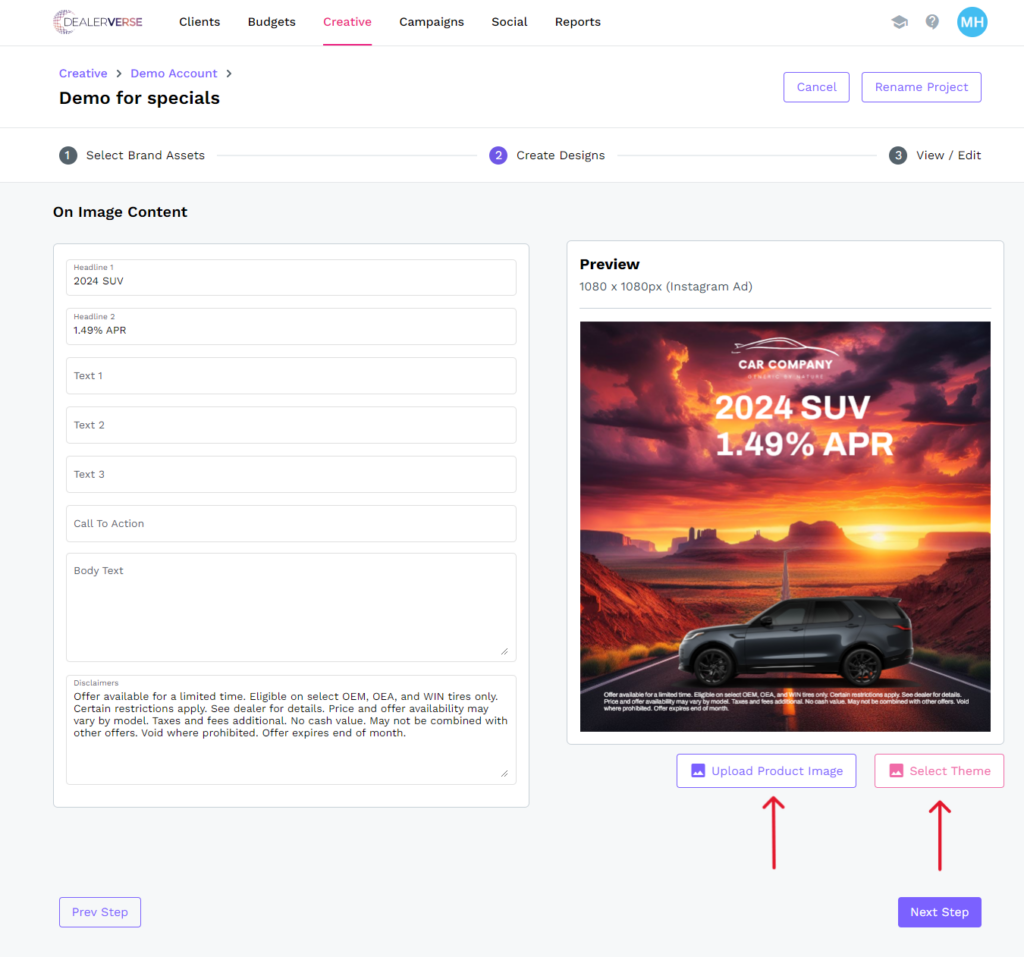
A pop-up box will appear once you’ve chosen the type of project you want. Add a name for the project and then click Create Project. You will now be redirected to a wizard where you’ll first need to select the brand assets you’ll be working with. These are the template packs that were previously created. Select the template pack that contains the assets you’ll need for your project and click Next Step.

Step 4: Create Designs
You will be redirected to a page where the image content can be added to the template file. Depending on the fields that were selected from, your entries will display on the graphic or not. The theme should be editable by clicking the Select Theme in the bottom right. The vehicle image should be editable by clicking the Upload Product Image button in the lower right. When you are done editing your graphic, click the Next Step button to continue.
Step 5: Preview/Edit Assets
In the final page of the wizard, you will be able to preview and edit the asset you just created. Hover over the image until the Edit button appears and when you click it, you will be taken to the image editor where you can make adjustments to the text fields and add some additional elements. Once the finishing touches have been put on the image, click the Save button in the upper right of the image editor.

Step 6: Save Project
Your preview should now be available to view in the Preview Assets page. You can click the Edit button to continue editing, or you can click the Save Project button to finish. You will then be redirected to the creative library where you can download the assets that you just created during the asset creation process.